
How Do You Replace Wheel Studs?
3rd Jun 2024

Have you ever faced the annoying issue of a broken wheel stud? It’s not only frustrating but can also compromise your vehicle’s safety. Knowing how to replace wheel studs is an essential skill every car owner should possess. Replacing wheel studs might sound like a task best left to professionals, but with the right tools and a bit of patience, it’s something you can do on your own.
In this blog, we'll thoroughly explore the process of replacing wheel studs. We aim to guide you through each step, ensuring you have the knowledge to handle this important maintenance task confidently.
Let’s dive into the essential tools and techniques needed to effectively replace wheel studs.
Tools and Materials Needed To Replace Wheel Studs
Before you start the process to replace wheel studs, it’s essential to gather all the necessary tools and materials to ensure a smooth and safe operation. Here’s what you’ll need:
New Wheel Studs
Essential for replacing old or damaged studs. Ensure they match the specifications (size and thread) for your vehicle to maintain optimal performance.
Wheel Stud Installer

A wheel stud installer tool is designed for easy installation, providing precise alignment and pressure. If unavailable, a standard hammer can also be used, though it requires careful handling to avoid damaging the new studs.
Lug Nuts

Critical for securing the wheel to the hub. Check that they fit the new studs and are free from wear and corrosion to ensure a secure fit.
Wrench or Socket Set
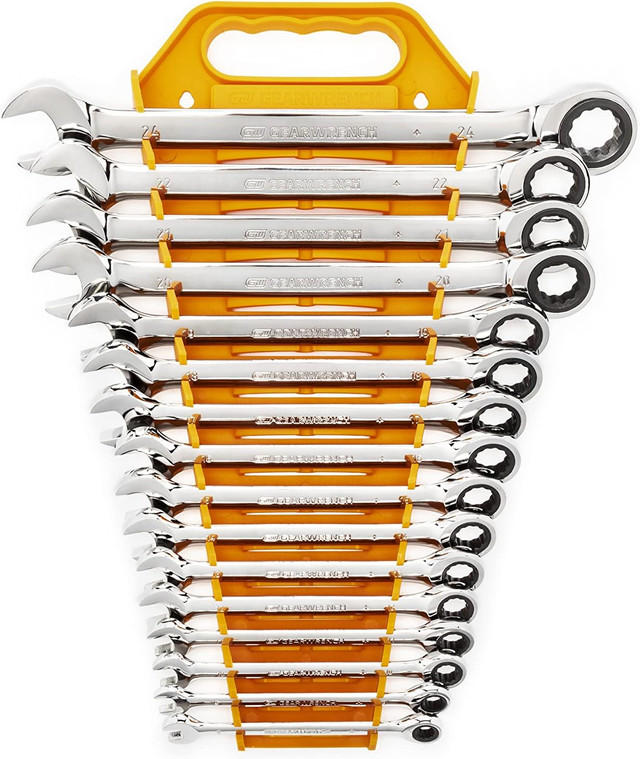
Necessary for loosening and tightening the lug nuts. Ensure you have the correct sizes to match your vehicle's specifications to prevent stripping or damaging the nuts.
Car Jack and Jack Stands
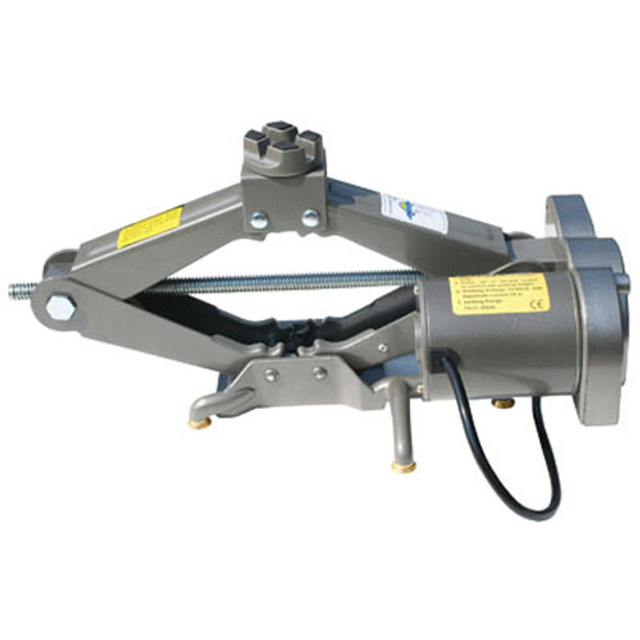
A car jack lifts the vehicle, while jack stands provide a stable and secure platform during the repair. Always use stands rated for your vehicle's weight for safety.
Safety Glasses and Gloves

Safety glasses protect your eyes from flying debris, and gloves guard against cuts and scrapes. Both are indispensable for personal protection during the job.
How Do You Replace Wheel Studs - Step-by-Step DIY Guide
Step 1: Prepare Your Work Area
Before starting, ensure your vehicle is on a level surface and secure it with wheel chocks to prevent movement. Having all your tools ready and within reach will streamline the process as you prepare to replace wheel studs. This organized setup prevents hazards and allows you to concentrate fully on the task.
Lighting and space are crucial; a well-lit and uncluttered workspace reduces risks and improves efficiency. Confirm you have everything necessary for the job, focusing on the task of replacing wheel studs without interruptions.
Step 2: Loosen the Lug Nuts
While the car is on the ground, loosen the lug nuts using a wrench. This approach prevents the wheel from spinning and allows for easier nut removal once the car is elevated. Only loosen the nuts enough to break their resistance; do not remove them completely yet.
Keeping the lug nuts partially fastened until you lift the vehicle ensures the wheel stays in place, minimizing the chance of it dropping unexpectedly when raised.
Step 3: Lift the Vehicle
Raise the vehicle by positioning the car jack under a stable part of its frame. Lift slowly and methodically to avoid destabilizing the vehicle. Stability is paramount to safely replace wheel studs.
After the vehicle is adequately elevated, secure it with jack stands placed under the frame. Removing the car jack should only occur after confirming the vehicle is stably supported by the stands, ensuring a safe environment to continue working on the wheel studs.
Step 4: Remove the Wheel
With the vehicle securely elevated, fully remove the lug nuts and then the wheel. Storing the wheel in a designated safe area prevents any workspace hazards and gives you full access to the wheel hub.
This step exposes the brake rotor and the wheel hub, where the wheel studs are located. Use this opportunity to inspect for any other issues that might require attention, ensuring everything is in order for the new wheel stud installation.
Step 5: Remove the Faulty Wheel Stud
Identify and remove the damaged wheel stud. Employ a hammer to drive the old stud out from the hub, executing this with care to avoid harming surrounding components.
Clean the hub thoroughly after removing the old stud to ensure no debris interferes with the new wheel stud. A clean hub ensures a smoother installation and better fit of the new wheel stud.
Step 6: Install the New Wheel Stud
Fit the new wheel stud into the hub, making sure it's correctly aligned. Use a wheel stud installer or a gentle hammering technique with a protective block of wood to seat the stud without damaging its threads.
Check that the wheel stud is fully seated and even with the hub surface. Proper installation is crucial for the wheel to mount correctly and perform reliably.
Step 7: Reattach the Wheel
Align the wheel with the new wheel stud and place it back onto the hub. Initially, hand-thread the lug nuts to avoid cross-threading, which is essential for the integrity of the wheel studs.
Tighten the lug nuts in a star pattern to ensure even pressure distribution, crucial for maintaining wheel balance and alignment after you replace wheel studs.
Step 8: Lower the Vehicle and Final Tightening
Carefully lower the vehicle to the ground, ensuring it settles evenly. This careful transition is crucial to maintaining the alignment and proper seating of the wheel studs.
Final tightening of the lug nuts should be done using a torque wrench to the manufacturer’s specified level, always following a star pattern to evenly secure the wheel to the newly installed wheel studs.
Step 9: Test and Clean Up
Perform a manual check for any looseness in the wheel and take a test drive at low speed to confirm everything is functioning as expected.
After confirming the installation's integrity, organize your workspace, returning tools to their places. Proper cleanup maintains a safe, efficient environment for future maintenance tasks, ensuring longevity for your tools and workspace.
FAQs
1. What is the cost to replace wheel studs?
The cost to replace wheel studs typically ranges from $15 to $30 per stud, including both parts and labor. This price can vary based on the make and model of your vehicle and the region in which the service is performed. It's advisable to get a quote from a local mechanic to understand the exact costs involved.
2. How to use a wheel stud installer?
To use a wheel stud installer, first align the new stud with the hole in the hub and thread it into the installer tool. Tighten the installer tool with a wrench or ratchet until the stud is fully seated and flush with the hub. Finally, remove the installer tool to complete the installation.
3. How long does it take to replace a wheel stud?
Replacing a wheel stud can typically be completed in about 15 to 30 minutes per stud, depending on your skill level and the tools at your disposal. This time includes preparing the area, removing the old stud, and installing the new one. The process may vary slightly based on the vehicle model.
4. Can I drive with one broken wheel stud?
Driving with one broken wheel stud is not recommended as it puts additional stress on the remaining studs and can compromise wheel stability. This could lead to further damage or even a wheel coming off while driving. It's safest to replace the broken stud as soon as possible.
JB Tools Is Offering Discounted Tools To Replace Wheel Studs
JB Tools is offering a 20% discount on tools essential for those looking to replace wheel studs. This discount applies to a range of high-quality wheel stud installers, wrench sets, and more, providing both DIY enthusiasts and professional mechanics with cost-effective solutions for their toolkit needs.
Explore the selection at JB Tools and invest in the right tools to ensure safe and efficient vehicle repairs.