
How to Clean Map Sensor?
15th Jul 2024
Is your car behaving unpredictably with odd jerks or stalls during acceleration? These symptoms might be due to a dirty MAP sensor, a critical component in your car engine that affects overall vehicle performance.
A clean MAP sensor ensures accurate readings of the engine's air intake, which is essential for proper fuel delivery, engine efficiency, and optimal vehicle performance. It helps maintain its function and prevents common engine problems caused by inaccurate sensor data.
In this blog, we'll walk you through the steps to effectively clean MAP sensor in your vehicle. Read along for clear, straightforward instructions that will help you accomplish this task quickly and easily, ensuring your vehicle runs smoothly with accurate air intake measurements.
Why Clean MAP Sensor?
Maintaining a clean MAP sensor is essential for ensuring your vehicle operates at peak efficiency and preventing engine problems. The MAP sensor, crucial for the engine's electronic control unit (ECU), gauges the air pressure within the intake manifold, influencing the air-fuel ratio and ignition timing. This measurement is critical for the ECU to adjust the air-fuel mixture and ignition timing appropriately, ensuring optimal engine performance, fuel efficiency, and reduced emissions.
Contaminants like dust, oil, and other particulates can impair the MAP sensor’s accuracy, leading to flawed data being relayed to the ECU and resulting in engine performance issues. This disruption can cause various performance issues, including reduced fuel efficiency, higher emissions, and unstable engine operation, potentially resulting in stalling or misfires.
To avoid these problems and ensure your engine runs smoothly, it's important to clean the MAP sensor regularly to maintain accurate sensor readings and optimal engine performance. Regular cleaning prevents the buildup of contaminants, helps maintain the reliability and longevity of your engine, and safeguards your vehicle against premature wear and performance degradation.
Bad MAP Sensor Symptoms
When a MAP sensor begins to fail, it can lead to noticeable symptoms affecting your vehicle's performance and engine efficiency. Understanding these symptoms is crucial for maintaining optimal engine health, vehicle efficiency, and preventing costly repairs. Here are the primary signs that might indicate a problem with the MAP sensor:
1. Erratic Engine Behavior
If the MAP sensor isn't providing accurate data on the air pressure inside the intake manifold, the engine may experience erratic behavior such as stalling, hesitation during acceleration, rough idling, or misfires. These issues arise because the MAP sensor function is integral to calculating the correct air-fuel mixture.
2. Poor Fuel Economy
One of the signs of a failing MAP sensor is a noticeable decrease in fuel efficiency. The engine control unit (ECU) relies on the MAP sensor to adjust the fuel injection based on air density and pressure. Incorrect readings can cause the engine to run richer or leaner than necessary, leading to excessive fuel consumption and reduced fuel efficiency.
3. Increased Emissions
A faulty MAP sensor can lead to higher emissions. If the sensor sends incorrect data to the engine's computer, it may not adjust the air-fuel mixture properly, often resulting in a richer mix that increases exhaust emissions and impacts the environment. This can eventually lead to failed emissions tests.
Always ensure regular checks and perform maintenance at regular intervals to prevent these issues. Know the MAP sensor location for quick diagnostics and repairs before engine problems develop.
What to use to clean map sensor?
To effectively clean a MAP sensor without causing damage, you'll need a few specific tools that are gentle on electronics yet effective at removing contaminants and ensuring accurate sensor readings. Here is a list of essential tools for this task:
Soft-Bristled Brush

A soft-bristled brush, like a toothbrush, is perfect for gently scrubbing the MAP sensor. It's effective at loosening and removing stubborn particles without scratching the sensitive parts of the sensor.
Lint-Free Cloth

A lint-free cloth is crucial for drying the sensor and cleaning around the area without leaving fibers that could interfere with the sensor’s operation.
Gloves
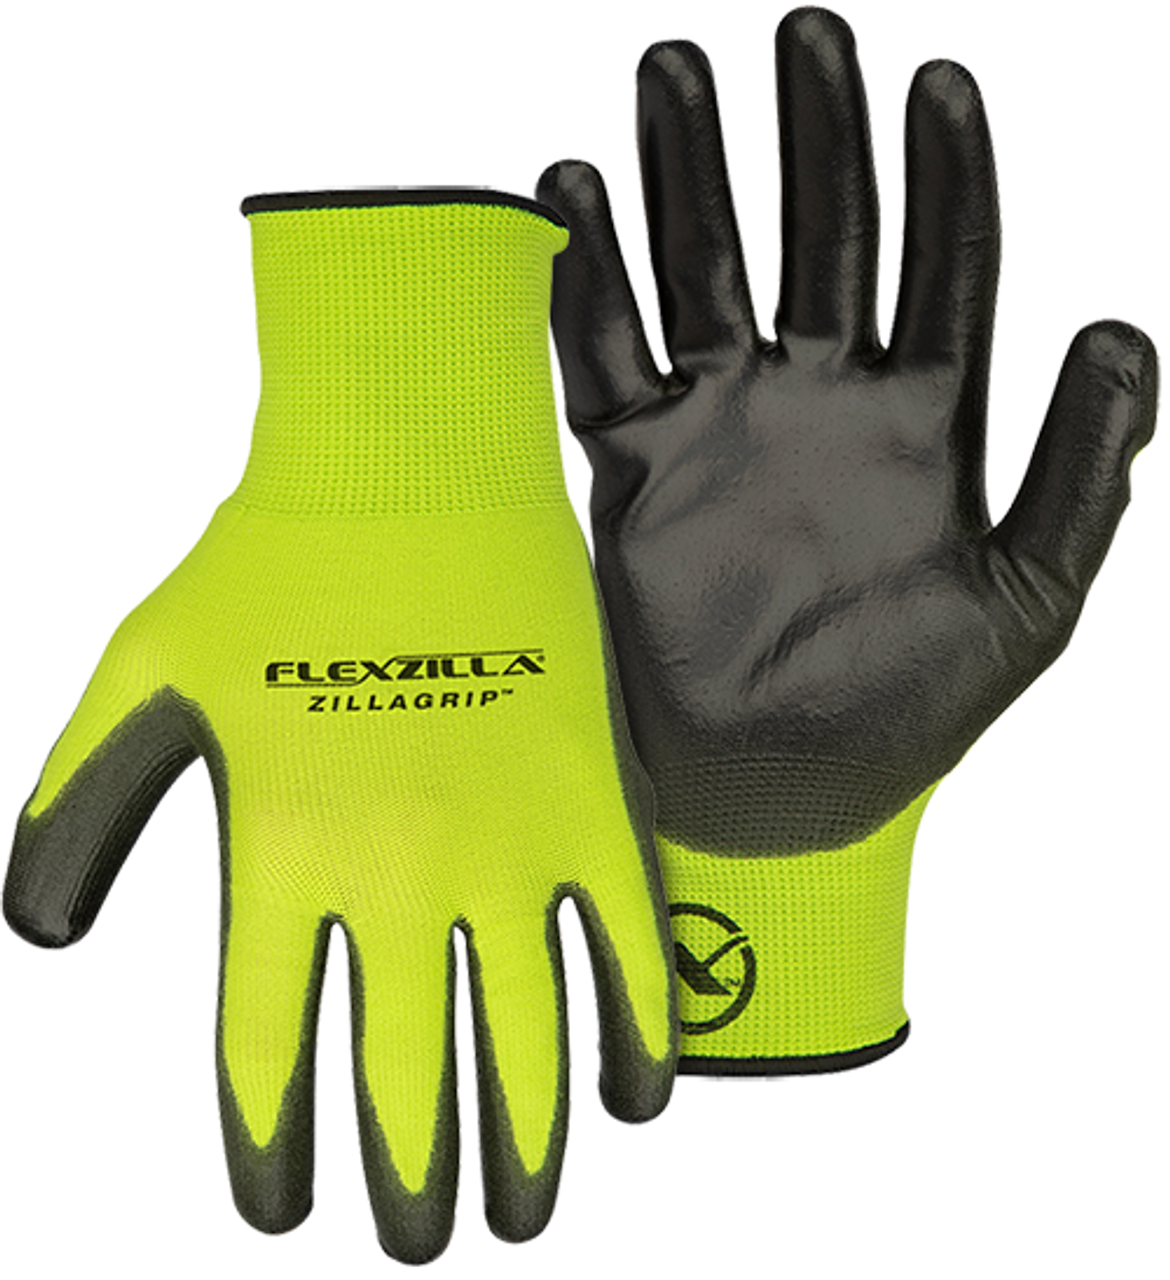
Wearing gloves is recommended to avoid contaminating the sensor with oils from your skin, which can affect its performance.
How to Clean Map Sensor? DIY Step-by-Step Guide
1. Locate the MAP Sensor
The MAP sensor location is typically on or near the intake manifold. Consulting your vehicle's owner’s manual can provide you with the exact location and detailed instructions on how to access it. This sensor is usually visible and accessible, making this step relatively straightforward.
Once you have identified the MAP sensor location, ensure the engine is cool before you proceed. This is crucial for safety, as working on a hot engine can lead to burns or other injuries.
2. Remove the Sensor
Before removing the sensor, disconnect the battery to ensure safety. Then, carefully disconnect the electrical connector from the MAP sensor. This usually involves unclipping a harness or gently pulling on a tab to release the connector. After that, remove any screws or clips holding the sensor in place using the appropriate tools.
Handling the sensor gently is important as these components are sensitive. Ensure that you do not apply excessive force that could damage the sensor or alter its alignment and positioning.
3. Clean the Sensor
Apply the electronics cleaner onto your soft-bristled brush. Do not spray directly onto the sensor, as excessive cleaner can seep into areas that could be harmful and affect the sensor's operation. Gently brush the sensor’s metal parts, focusing on areas where dust and grime accumulate. The key here is to be thorough yet gentle to avoid damaging any sensitive components.
Once you've adequately cleaned the sensor, use a lint-free cloth to wipe down the area around the sensor. This helps to prevent future contamination and ensures that no cleaning fluid remains that could affect the sensor’s operation.
4. Dry the Sensor
Allow the sensor to air dry completely on a clean surface before reinstalling. Make sure it's completely dry before reinstalling. Any moisture left on the sensor can cause it to malfunction or send incorrect signals to the engine’s computer, leading to performance issues and potential engine damage.
While waiting for the sensor to dry, inspect other nearby components in the engine bay for signs of wear or potential issues to ensure overall engine health. Regular inspections can help catch problems before they become more serious.
5. Reinstall the Sensor
Carefully place the sensor back into its position on the intake manifold. Reattach any screws or clips that were removed earlier, ensuring they are secure but not overly tightened to avoid damage. Reconnect the electrical connector, ensuring it snaps in place securely and is fastened properly.
After reinstalling the sensor, reconnect the battery and ensure all tools are removed from the engine bay to prevent any accidental shorts or mechanical issues. This helps prevent any accidental shorts or mechanical issues when starting the vehicle.
6. Test the Vehicle
Start your vehicle to test if the sensor is functioning correctly. Observe the engine's behavior; it should run smoothly without hesitation, rough idling, or stalling. If the engine displays irregular behavior, it might indicate that the sensor was not cleaned effectively or might be damaged and need replacing.
Monitor the vehicle's performance over the next few days to ensure everything is working as expected and that the MAP sensor is providing accurate data. Regular monitoring can help you quickly identify and address any recurring issues related to the MAP sensor or other engine components, ensuring optimal vehicle performance.
FAQs
1. What happens when map sensor goes bad?
When a MAP sensor goes bad, it can lead to incorrect air-fuel mixture ratios, causing the engine to run inefficiently and affecting overall vehicle performance. This inefficiency often manifests as reduced fuel economy, increased emissions, and erratic engine behavior, including stalling, rough idling, and misfires.
2. Can you clean a map sensor with alcohol?
Yes, you can clean the MAP sensor with isopropyl alcohol as it is gentle yet effective at removing grease and dirt without leaving residue, ensuring accurate sensor performance. Ensure you use high-concentration alcohol (at least 90%) for the best results in cleaning the MAP sensor. Always apply it with a soft brush or cloth to avoid damaging the MAP sensor.
3. Can map sensor cause misfires?
Yes, a faulty MAP sensor can cause misfires due to incorrect air-fuel mixture readings. When it provides incorrect data about the air intake pressure, the engine's computer may miscalculate the air-fuel mixture, leading to incomplete combustion and engine misfires.
4. How to test map sensor without multimeter?
To test a MAP sensor without a multimeter, observe the engine's behavior for signs like poor acceleration, erratic idling, stalling, or increased emissions. Alternatively, use an OBD2 scanner to check for error codes related to the MAP sensor for accurate diagnostics. Lastly, visually inspect the MAP sensor for any physical damage or contamination that might affect its performance.
Shop Map Sensor Cleaning Products With JB Tools At Discount
Shop at JB Tools and enjoy discounts on all our MAP sensor cleaning supplies to keep your vehicle's engine running efficiently. Our carefully curated range includes residue-free formulas safe for use on all electronic engine components, ensuring thorough and safe cleaning of your MAP sensor.
Grab top tools now at affordable prices to maintain your MAP sensor and keep your engine running smoothly and efficiently.