
How To Replace AC Compressor?
24th May 2024

The AC compressor is a key component in your car's air conditioning system, and replacing it can restore efficiency and cooling power. If your car's AC has lost its cool or operates loudly, it might be time for a new compressor.
In this blog, we’ll detail the steps involved in replacing an AC compressor, ensuring you understand each phase of the process for a smooth replacement.
Let’s get started!
Necessary Tools Required to Replace AC Compressor
When preparing to replace an AC compressor, it's crucial to have the right tools at hand. This ensures the process is efficient and safe, minimizing the risk of damage to your vehicle's air conditioning system. Below is a comprehensive list of tools you'll need to replace an AC compressor successfully for optimal performance:
1. Wrenches and Sockets
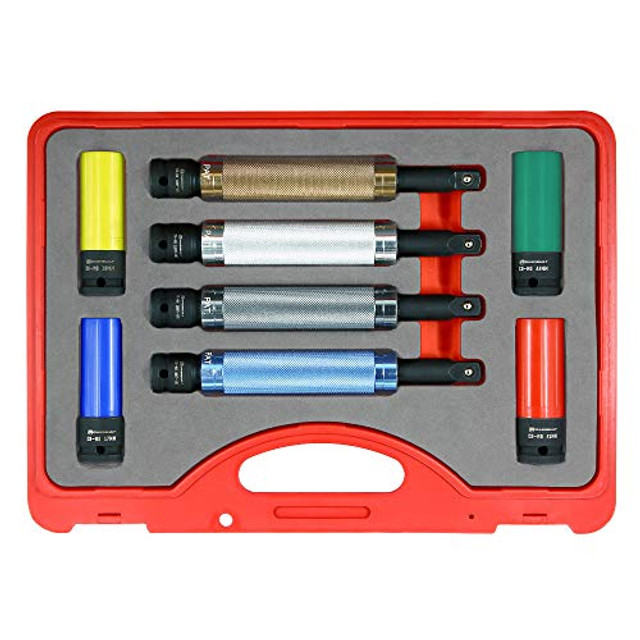
A set of wrenches and sockets is essential for loosening and tightening the various bolts and nuts that hold the AC compressor and related components in place. Ensure you have a range of sizes to fit your vehicle’s specifications.
2. Screwdrivers
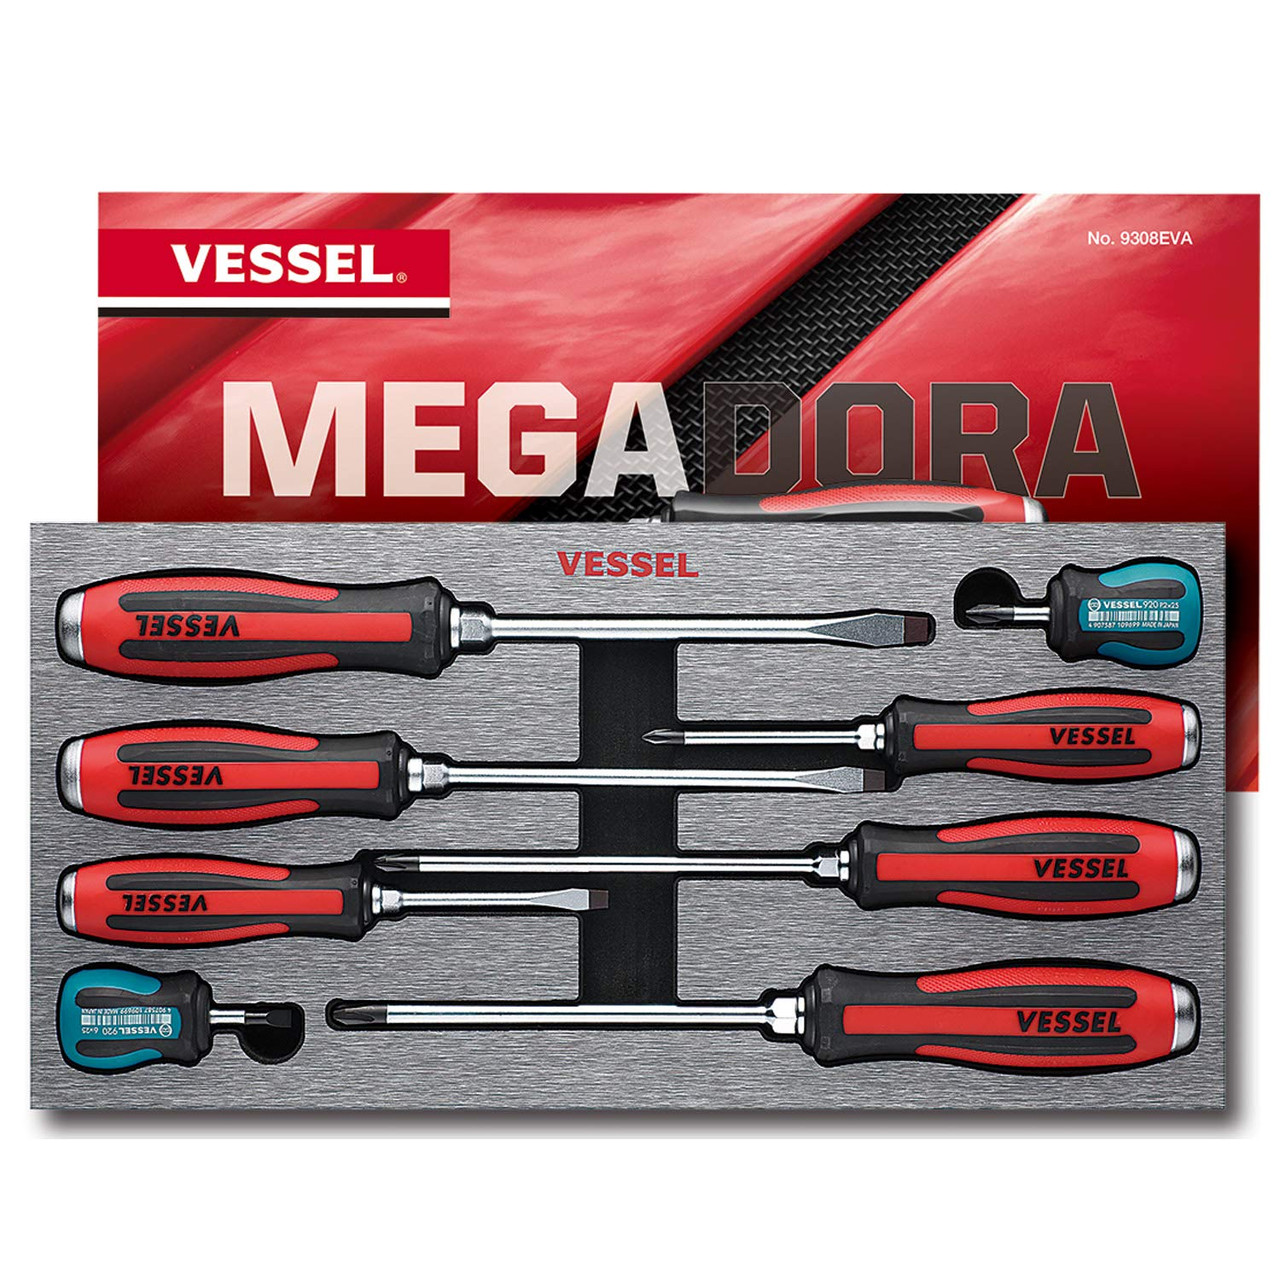
Different types of screwdrivers ($78.74) may be required to handle various screws involved in the compressor installation. Both flathead and Phillips screwdrivers should be on hand to accommodate different screw types for a seamless installation process.
3. Pliers

Pliers are necessary for gripping and manipulating small components, such as clips or clamps, which you may need to remove or secure during the AC compressor replacement process.
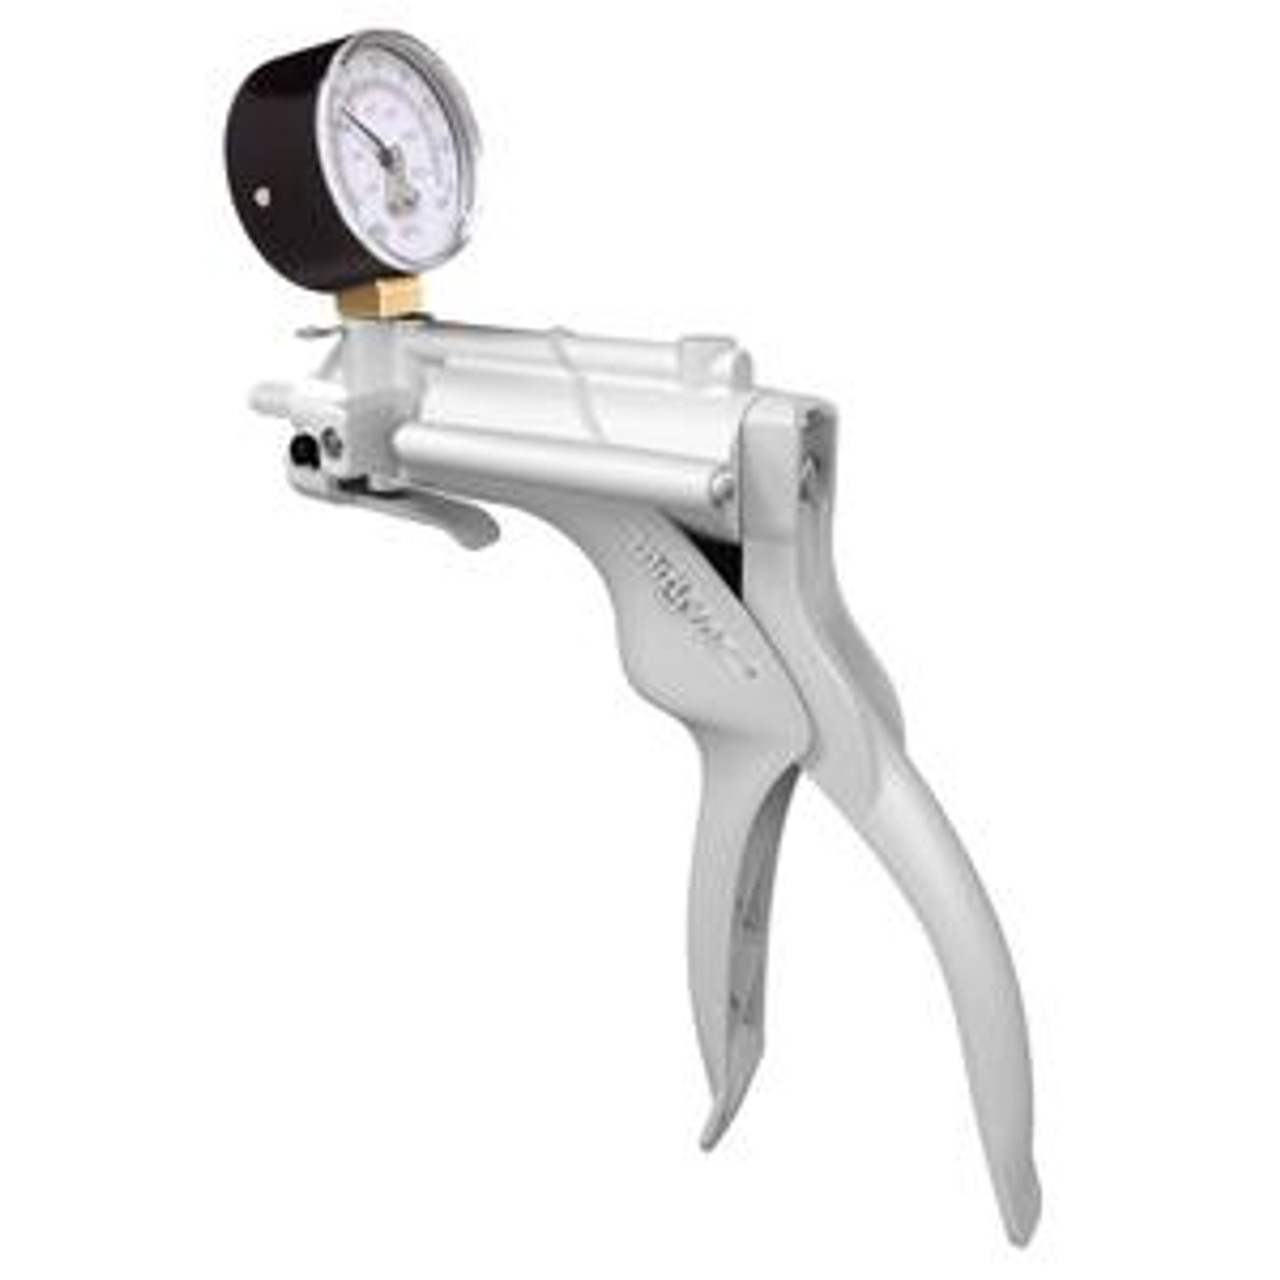
4. A/C Manifold Gauge Set

This tool is critical for diagnosing and charging the system. The manifold gauge set ($74.46) allows you to monitor the pressure within the AC system, ensuring it operates correctly after you replace the AC compressor, maintaining optimal cooling efficiency.
5. Refrigerant Recovery Machine
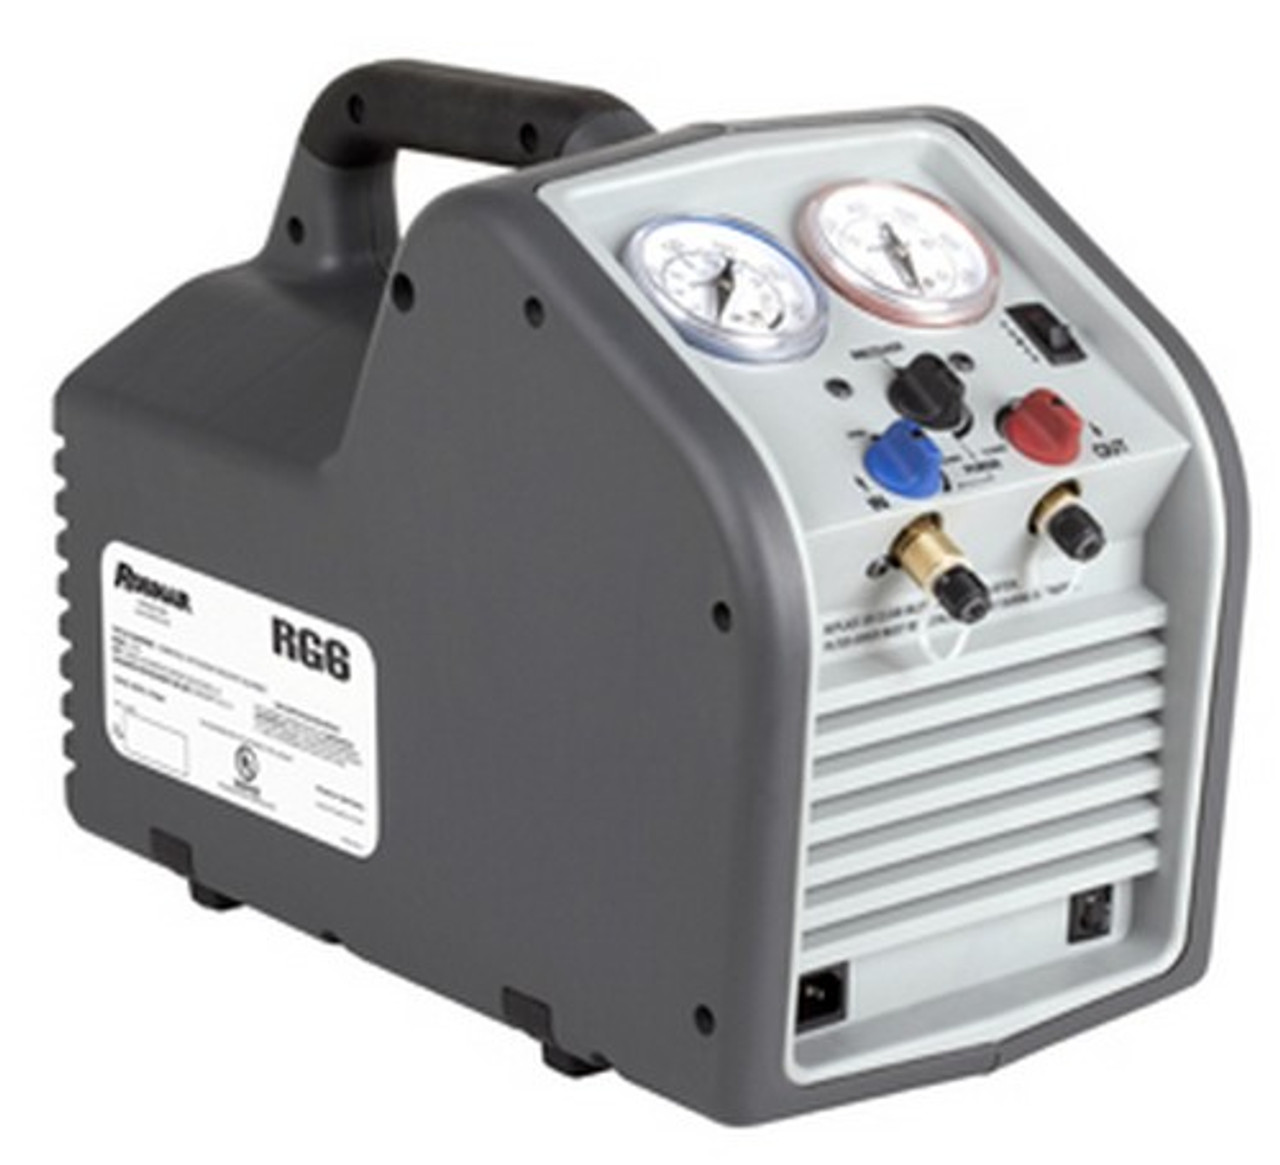
Before you can replace the AC compressor, it's essential to safely remove the refrigerant from the system. A refrigerant recovery machine ensures that this is done in compliance with environmental regulations, preventing any illegal release of refrigerant into the atmosphere.
6. Vacuum Pump
After replacing the AC compressor, a vacuum pump ($50.99) is used to remove air and moisture from the AC system. This step is crucial as it helps prevent future mechanical failures and maintains the efficiency of the air conditioning system.
Equipped with these tools, you can confidently proceed to replace the AC compressor, ensuring that your vehicle’s air conditioning system is restored to its optimal condition and performance.
Safety Precautions When Replacing a Compressor AC Unit
Safety should always be your top priority when you undertake to replace a compressor AC unit in a vehicle. Observing proper safety measures not only protects you but also ensures the job is done correctly and efficiently. Here are essential safety precautions to follow:
- Wear Protective Gear: Always wear the appropriate safety gear, including gloves and safety glasses. These protect your hands from sharp edges and your eyes from potential debris or harmful chemicals that might be released during the process to replace the AC compressor unit.
- Proper Handling of Refrigerant: Refrigerant should be handled with extreme care. It's crucial to use a refrigerant recovery machine to safely remove refrigerant from the AC system before you replace the AC compressor. This not only complies with environmental laws but also prevents potential health risks from exposure.
- Electrical Safety Precautions: Before starting to replace the compressor AC unit, ensure the vehicle’s engine is off and disconnect the battery. This precaution prevents any accidental electrical shocks and protects the vehicle’s electrical system from potential damage during the replacement process.
- Ensure Vehicle Stability: Make sure the vehicle is parked on a stable, level surface and that it cannot move or roll during the operation. Use wheel chocks if necessary. Stability is crucial to avoid any accidents that could arise from the vehicle shifting or tilting while you are working to replace the AC compressor.
By adhering to these safety measures, you can safely replace the compressor AC unit without risking injury or damage to your vehicle. Remember, safety is not just a practice but a responsibility.
Step-by-Step Guide to Replace an A/C Compressor
Preparation: Evacuation of the A/C System
Before you replace the AC compressor, it is important to have a professional evacuate the AC system. This step safely removes refrigerant and adheres to environmental laws, ensuring a safe and compliant process.
Proper evacuation ensures no illegal release of refrigerants into the atmosphere. This preparation step is critical to ensuring that the replacement process is both safe and legal.
Step 1: Remove the compressor belt
First, locate the compressor belt at the engine's front. Identify the tensioner pulley mechanism used to adjust the belt’s tension, which may need loosening to access the belt.
Next, carefully loosen the tensioner pulley to reduce tension on the belt. Once slackened, slide the belt off the compressor’s pulley and inspect it for any signs of wear or damage. Set it aside if it is still in usable condition for potential reuse.
Step 2: Disconnect the Electrical Connector
Locate the electrical connector on the AC compressor, which is typically secured with a locking mechanism to prevent it from coming loose inadvertently. Carefully release this lock to access the connector.
Once unlocked, disconnect the connector by gently pulling it away from the compressor. Handle the wires with care to avoid stressing or damaging the electrical connections.
Step 3: Disconnect the Refrigerant Lines
Use the correct wrenches to loosen the bolts or nuts that fasten the refrigerant lines to the compressor. These lines are crucial as they transport the refrigerant throughout the system and require careful handling.
After disconnecting the lines, promptly cap them to prevent dirt and moisture from entering. Keeping these lines clean and dry is essential to maintaining the efficiency of your AC system once the compressor is replaced.
Step 4: Remove the Compressor
Unbolt the AC compressor from its position in the engine bay, making sure to keep all bolts and hardware organized. Note their locations as you will need them for installing the new compressor.
Lift the compressor carefully out of the vehicle, taking care to avoid disturbing any other engine components. Handle the compressor gently to prevent any damage to the remaining connected parts.
Step 5: Install the New Compressor
Position the new compressor in the engine bay, aligning it with the original mounting points. Reinstall the bolts and tighten them according to the manufacturer's torque specifications to ensure it is securely fastened and properly aligned.
Check that the compressor is mounted firmly and that all fittings are properly aligned. Correct alignment is crucial for making the upcoming connections smoothly and efficiently.
Step 6: Reconnect Components
Reconnect the refrigerant lines to the new compressor using new o-rings or seals to ensure a tight seal and prevent leaks. Securely tighten each connection to maintain the integrity of the system and ensure optimal performance.
Reattach the electrical connector to the compressor, making sure it clicks firmly into place. A secure connection is essential to prevent electrical faults and ensure proper functioning of the AC system.
FAQs
1. What is the cost to replace a/c compressor in a car?
The cost to replace an AC compressor in a car typically ranges from $500 to $1,000 when done professionally, covering both parts and labor. For those considering a DIY approach, the cost primarily involves purchasing the compressor, which can range from $200 to $600, depending on the vehicle model. Additional costs for tools and other supplies might apply if not already owned.
However, a DIY approach requires technical skills and specific tools, such as a refrigerant recovery machine, to comply with environmental laws.
2. When to replace a/c compressor?
Replace an A/C compressor when it fails to properly cool the vehicle, makes unusual noises, or leaks refrigerant. Signs of wear such as excessive vibration or clutch issues also indicate a need for replacement. Regular maintenance checks can help identify these problems early.
3. Are there any alternative methods to fix an A/C compressor without replacement?
Some A/C compressor issues can be resolved without replacement by repairing components like the clutch or seals, or by refilling the refrigerant if levels are low. Regular maintenance and addressing minor issues promptly can extend the compressor's lifespan. However, severe damage typically requires full replacement.
JB Tools - Your Trusted Tool Partner
JB Tools stands as a reliable partner for both professional mechanics and DIY enthusiasts, offering a comprehensive range of high-quality tools. Known for its commitment to durability and precision, JB Tools provides everything from automotive tools to general hardware essentials.
With competitive pricing and exceptional customer service, JB Tools aims to support and enhance your projects. Whether you're tackling a complex repair job or a simple home improvement task, JB Tools has the right equipment to ensure success. Trust JB Tools for all your tool needs and experience the difference in quality and efficiency.