How To Replace Brake Pads? A Step-By-Step DIY Guide
24th May 2024
Replacing brake pads is important for maintaining your vehicle’s braking efficiency and safety. As pads wear down, braking performance deteriorates, endangering both driver and passengers.
This blog offers precise, step-by-step instructions to replace your brake pads, along with practical advice to enhance the procedure. Whether you're looking to avoid professional service fees or just want to learn more about the process, this guide has got you covered.
Let’s get started!
When To Replace Brake Pads?
Brake pads should be replaced when they show signs of wear. Here are specific indicators that it's time to replace them:
Sign 1: Noisy Brakes
If your brakes emit screeching, squealing, grinding, or whining sounds when engaged, it's likely time to replace them. These sounds generally come from a metal indicator in the brake pad designed to warn you of excessive wear. Note, however, that a squealing noise might also occur temporarily when brakes are wet; if the noise persists, the pads likely need replacement.
Sign 2: Decreased Braking Efficiency
When your vehicle starts taking longer to stop, it might be due to worn-out brake pads, low levels of brake fluid, or contamination within the brake system. This reduction in performance is a critical indicator that your brakes need to be replaced.
Sign 3: Braking Vibration
Vibrations felt when braking can be caused by warped rotors, contamination of the brake pads or rotors, issues with the anti-lock braking system, or even improper installation of brake components. Persistent vibrations should prompt a consultation with a mechanic to pinpoint and resolve the issue.
Sign 4: Worn Brake Pads
Brake pads should be replaced if they are less than a quarter-inch thick. Regular checks can be done visually by looking through the wheel spokes to assess the pad thickness.
Sign 5: Brake Warning Light
An illuminated brake light on your dashboard is a direct signal that there could be an issue with the brake pads, a leak in the brake fluid, or a problem with the parking brake. Any warning lights should be addressed by a professional mechanic to ensure the braking system functions correctly.
Step-By-Step DIY Guide To Replace Brake Pads
Here’s a step-by-step guide to replace brake pads by yourself, including important safety measures:
Step 1: Safety First
Before beginning, set up a secure and stable work environment. Wear protective gear such as safety goggles and gloves, and ensure all tools are in good working order. Disconnect the vehicle’s battery to eliminate the risk of electrical issues or unintended engine starts, enhancing safety throughout the procedure.
Step 2: Prepare Your Vehicle
Park your vehicle on a flat, stable surface to ensure it remains secure while you work. Engage the parking brake to keep the vehicle from rolling, and place wheel chocks behind the tires that will remain on the ground.
Loosen the lug nuts on the wheels slightly while the vehicle is still grounded, which makes them easier to remove once the car is lifted. Use the car jack to lift the vehicle until it is high enough for you to work comfortably. Position the jack at the designated lift points under the vehicle to avoid any damage.
Step 3: Remove the Wheel
With the vehicle securely raised and stabilized on the jack stands, remove the loosened lug nuts completely. Then, carefully remove the wheel to expose the brake caliper and rotor. This provides you the access needed to proceed with replacing the brake pads.
Inspect the exposed brake components like the rotor and caliper for any signs of excessive wear or damage such as deep grooves or leaks. This inspection prevents future brake problems and ensure the safety of your vehicle.
Step 4: Remove the Brake Caliper
Locate the bolts securing the brake caliper in place; these are usually found at the back of the caliper. Use the appropriate size socket on your ratchet to remove these bolts. Be careful when removing the caliper from the rotor—it should be done gently to avoid damaging the brake hose attached to the caliper.
Once the caliper is free, do not let it dangle from the brake hose as this can cause damage. Instead, use a hanger or a piece of wire to securely suspend the caliper from the vehicle's suspension or frame. This will keep the caliper out of the way while you replace the brake pads and ensure no tension is placed on the brake line.
Step 5: Remove Old Brake Pads
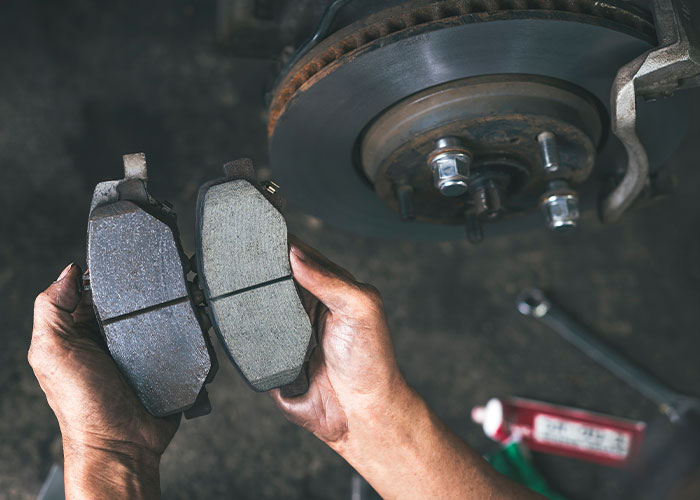
With the caliper removed, the brake pads can easily be accessed. Slide out the old brake pads from the caliper bracket. Take note of their orientation and how they fit into the caliper assembly, as this will assist you in installing the new pads correctly. Some vehicles may have additional clips or retainers that hold the pads in place, which should be carefully removed and set aside for reuse.
Inspect the condition of the caliper bracket and rotor once the pads are removed. If there is significant wear or damage, consider having these parts replaced or resurfaced to ensure optimal performance and longevity of your new brake pads. Cleaning the caliper bracket and rotor with a wire brush or appropriate cleaning solution can also help in the smooth operation of your brakes.
Step 6: Compress the Caliper Piston
Before installing new brake pads, the caliper piston needs to be reset to its original position. Place the old brake pad over the piston and use a C-clamp or a caliper piston tool to push the piston back into the caliper housing. This must be done slowly and evenly to avoid damaging the piston or caliper.
Ensure the piston is fully retracted into the caliper to provide enough space for the new, thicker brake pads. This is also a good time to check for any fluid leaks or damage to the piston seal. Any issues here can affect the performance of your brakes and should be addressed immediately to ensure proper function and safety.
Step 7: Install New Brake Pads
Insert the new brake pads into the caliper bracket. Make sure they are correctly oriented and that any clips or retaining mechanisms are securely fastened. The correct installation of brake pads is crucial for the brake system to function effectively. Double-check that the pads are seated properly and that they move freely within the caliper bracket.
Apply a thin layer of high-temperature grease to the back of the brake pads where they contact the caliper piston. This helps reduce noise and allows the pads to slide more easily, preventing sticking and uneven wear. However, ensure that no grease gets on the rotor or the friction surface of the pads, as this can severely impair braking performance.
Step 8: Reattach the Brake Caliper
Position the caliper back over the rotor and align it so that the new brake pads encase the rotor evenly. Reinstall the caliper bolts and tighten them to the manufacturer’s specified torque setting. This precision is important to prevent the bolts from loosening over time, which could lead to caliper failure.
After securing the caliper, give the assembly a few tugs to ensure everything is tightly fitted and that there is no movement other than the normal sliding of the caliper on its guides. This check is essential to confirm that the caliper will function correctly under braking conditions.
Step 9: Replace the Wheel
Place the wheel back onto the hub, aligning it with the wheel studs. Thread the lug nuts by hand to avoid cross-threading, which can damage the studs. Lower the vehicle off the jack stands using the car jack, ensuring it is done slowly and safely to maintain stability.
Once the vehicle is on the ground, tighten the lug nuts in a star pattern using a torque wrench to the specified torque. This method ensures even pressure on the rotor and prevents warping. Double-check the torque on each lug nut to ensure the wheel is securely attached.
Step 10: Test Your Brakes
Inside the vehicle, press the brake pedal several times to restore the hydraulic pressure within the brake system. This action adjusts the brake pads to their proper position. Start with a slow test drive in a safe area to ensure the brakes are functioning correctly. Listen for any unusual noises and pay attention to the brake response. Make any necessary adjustments immediately to ensure optimal performance and safety.
Perform a few stops at low speed to ensure the brakes are engaging properly and smoothly. If there are any issues such as squealing, soft brake pedal, or vibration, recheck your work to ensure everything has been assembled correctly and that there are no loose components.
Tools You Need To Replace Brake Pads By Yourself
Here’s a list of essential tools you'll need to perform a brake pad replacement yourself:
Car Jack and Jack Stands
These are essential for lifting and holding your vehicle securely off the ground. Ensure the jack and stands are rated for your vehicle's weight for safe operation.
Lug Wrench
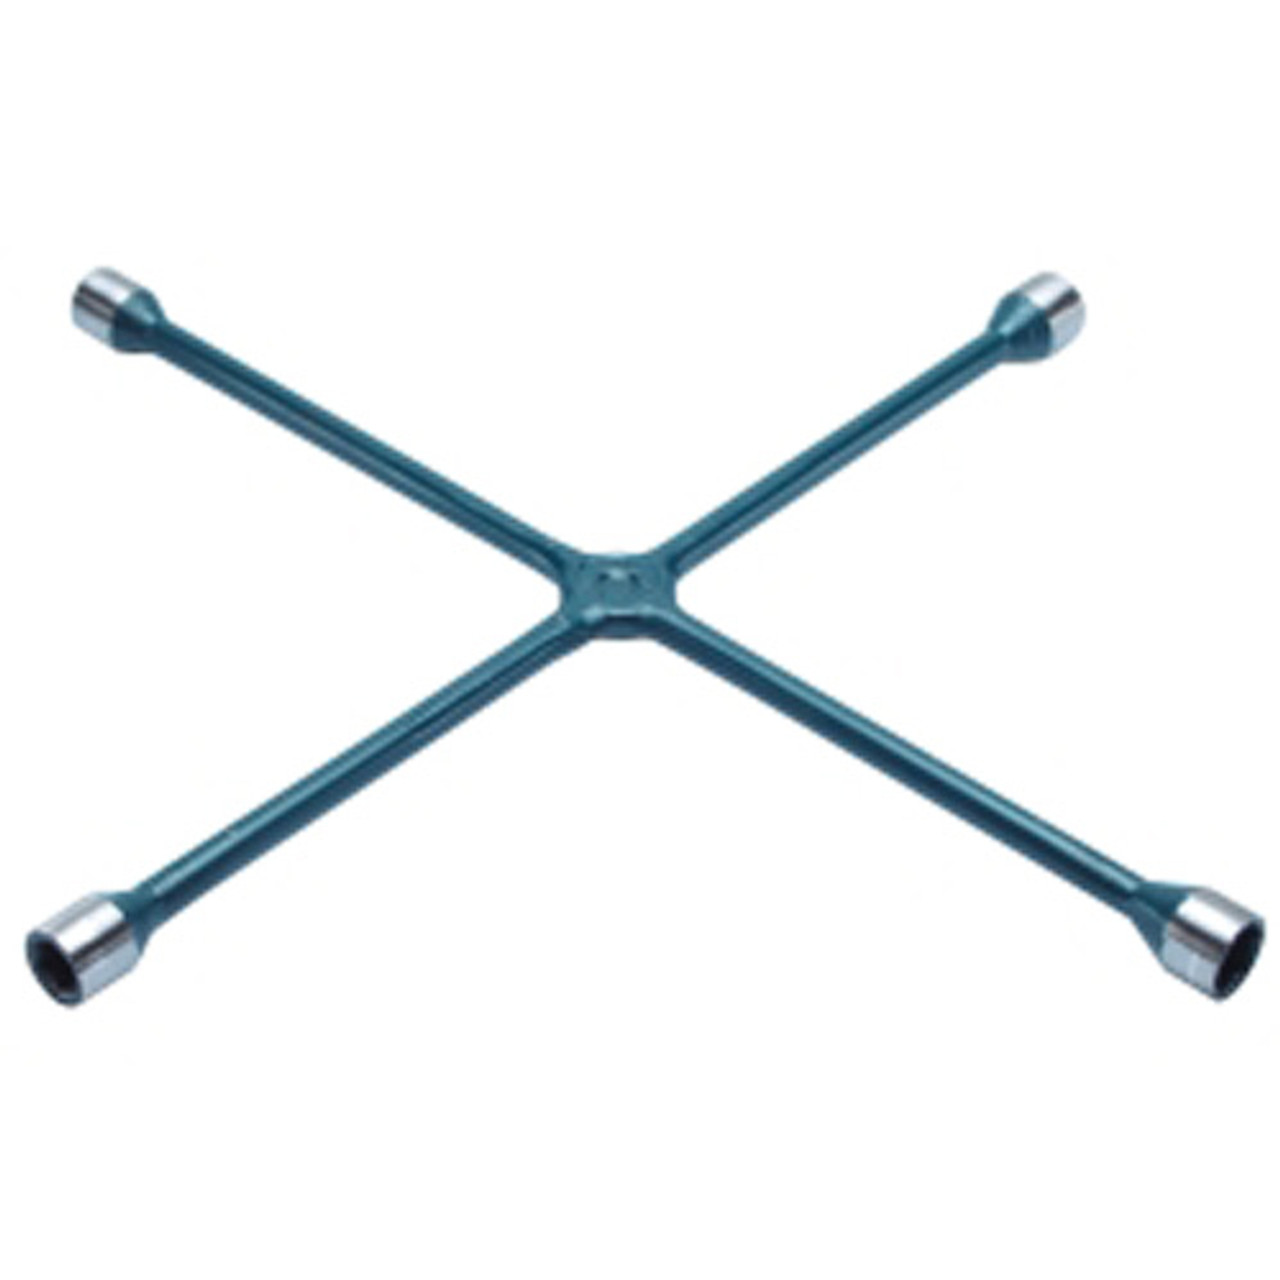
Used to remove the lug nuts that secure the wheel to the vehicle. A crossbar or telescoping wrench can provide more leverage, making it easier to loosen tight nuts.
C-Clamp or Caliper Piston Tool
A C-clamp can push the piston back into the caliper housing, clearing space for new brake pads. A caliper piston tool is specifically designed for this task and can accommodate different piston configurations.
Ratchet and Socket Set
Necessary for removing the caliper bolts. A set with various socket sizes ensures you have the right fit for different bolt sizes, providing better grip and preventing stripping.
Torque Wrench
Critical for reattaching the wheel and caliper bolts to the specified tightness, which is essential for the safety and longevity of your brake system.
Brake Cleaner
For cleaning the brake caliper, rotor, and other brake components to ensure optimal operation and remove any contaminants.
Mechanic’s Wire or Bungee Cord
To safely hang the brake caliper during the brake pad replacement process, ensuring no strain is placed on the brake hose.
FAQs
1. How Often Replace Brake Pads?
Brake pads should typically be replaced every 30,000 to 70,000 miles, but this varies based on driving habits and conditions. Frequent city driving or aggressive braking can shorten this interval. Always monitor your brake system's performance and heed any wear indicators or decreased braking responsiveness.
2. How Many Brake Pads Per Wheel?
Each wheel on a vehicle typically has two brake pads: one inner pad and one outer pad. These pads press against the brake rotor to create friction that slows or stops the vehicle.
Start With JB Tools To Replace Brake Pad And Save 20%
Starting your brake pad replacement with JB Tools can not only enhance your DIY experience but also save you money. By using JB Tools, you're ensured high-quality equipment tailored for brake maintenance. Take advantage of a 20% discount on the tools you need to make your vehicle maintenance both cost-effective and efficient.


