
How To Repoint Brickwork?
6th Aug 2024

What is Brick Repointing?
Repointing brickwork is a crucial maintenance task that ensures the longevity and aesthetic appeal of brick structures. This guide offers a step-by-step approach to effectively repoint brickwork, restoring its structural integrity and resistance to weather elements.
Let’s get started!
Repointing involves renewing the pointing, which is the external part of mortar joints in masonry construction. Over time, weathering and decay cause voids in the joints between masonry units (such as bricks or stones), allowing water to penetrate.
Water entering through these voids can cause significant damage through frost weathering and salt dissolution. Repointing involves removing the damaged or decayed mortar from the joints to a required depth and then filling them with fresh mortar.
When To Repoint The Brickwork? 4 Signs
Here are four signs indicating it's time to repoint your brickwork:
1. Crumbling or Missing Mortar
If the mortar is crumbling or sections are missing, it’s time to repoint to prevent further structural deterioration.
2. Visible Cracks in Mortar
Cracks in the mortar not only reduce aesthetic appeal but also compromise the structure's moisture resistance.
3. Water Infiltration and Damage
Signs of water damage like damp patches on walls near brickwork indicate failing mortar joints that need attention.
4. Mortar Erosion Beyond the Edge of the Brick
When mortar is significantly recessed from the brick face, it exposes the brick edges to weathering and damage.
Tools For Brick Repointing
To achieve the best results and maintain the integrity of your brick structure, it’s important to use the right equipment. Here are the essential tools you’ll need for successful brick repointing:
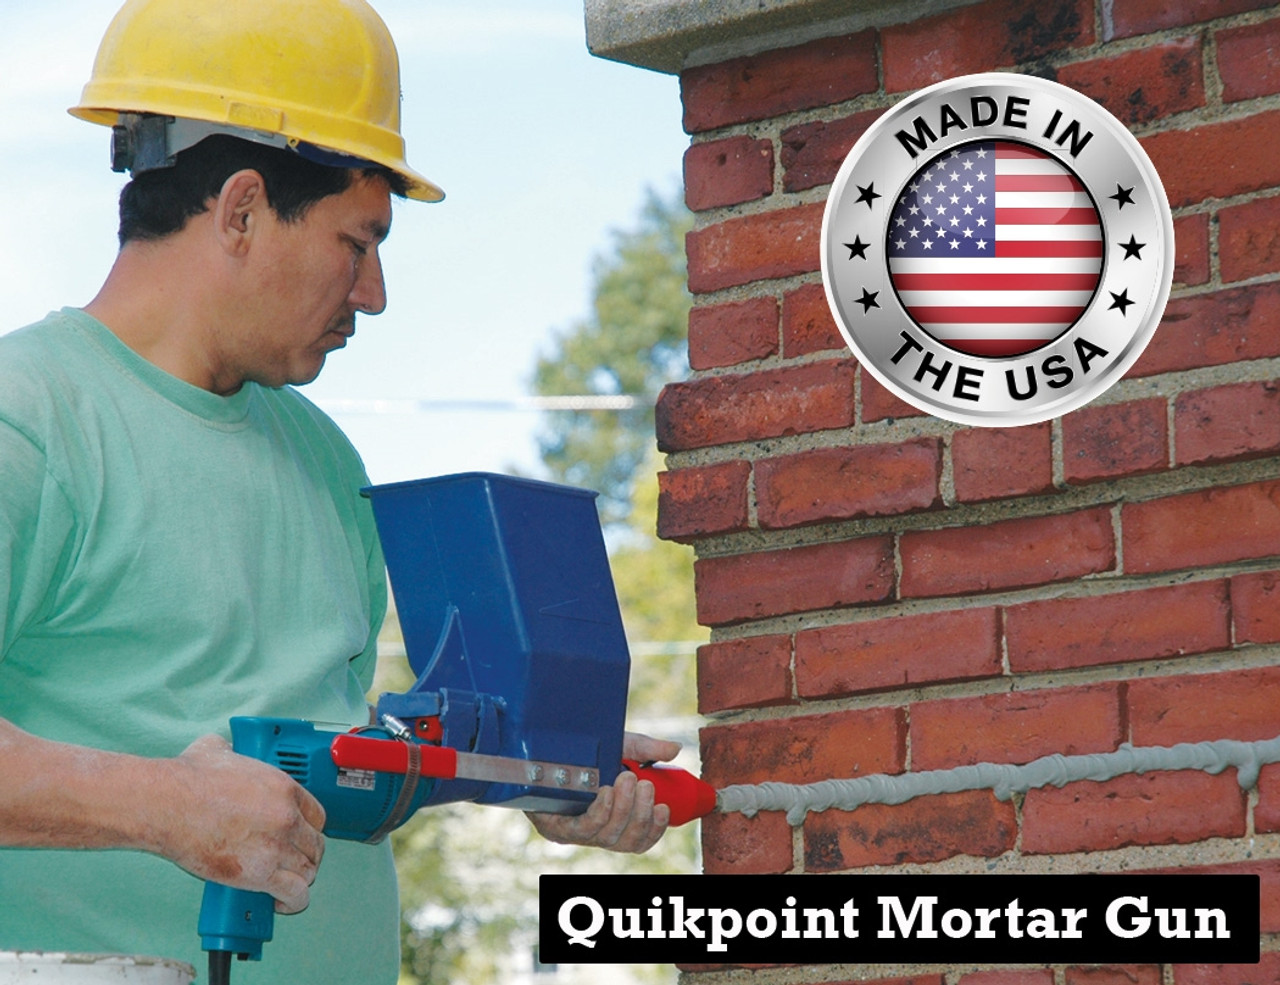
1. Quikpoint Mortar Gun
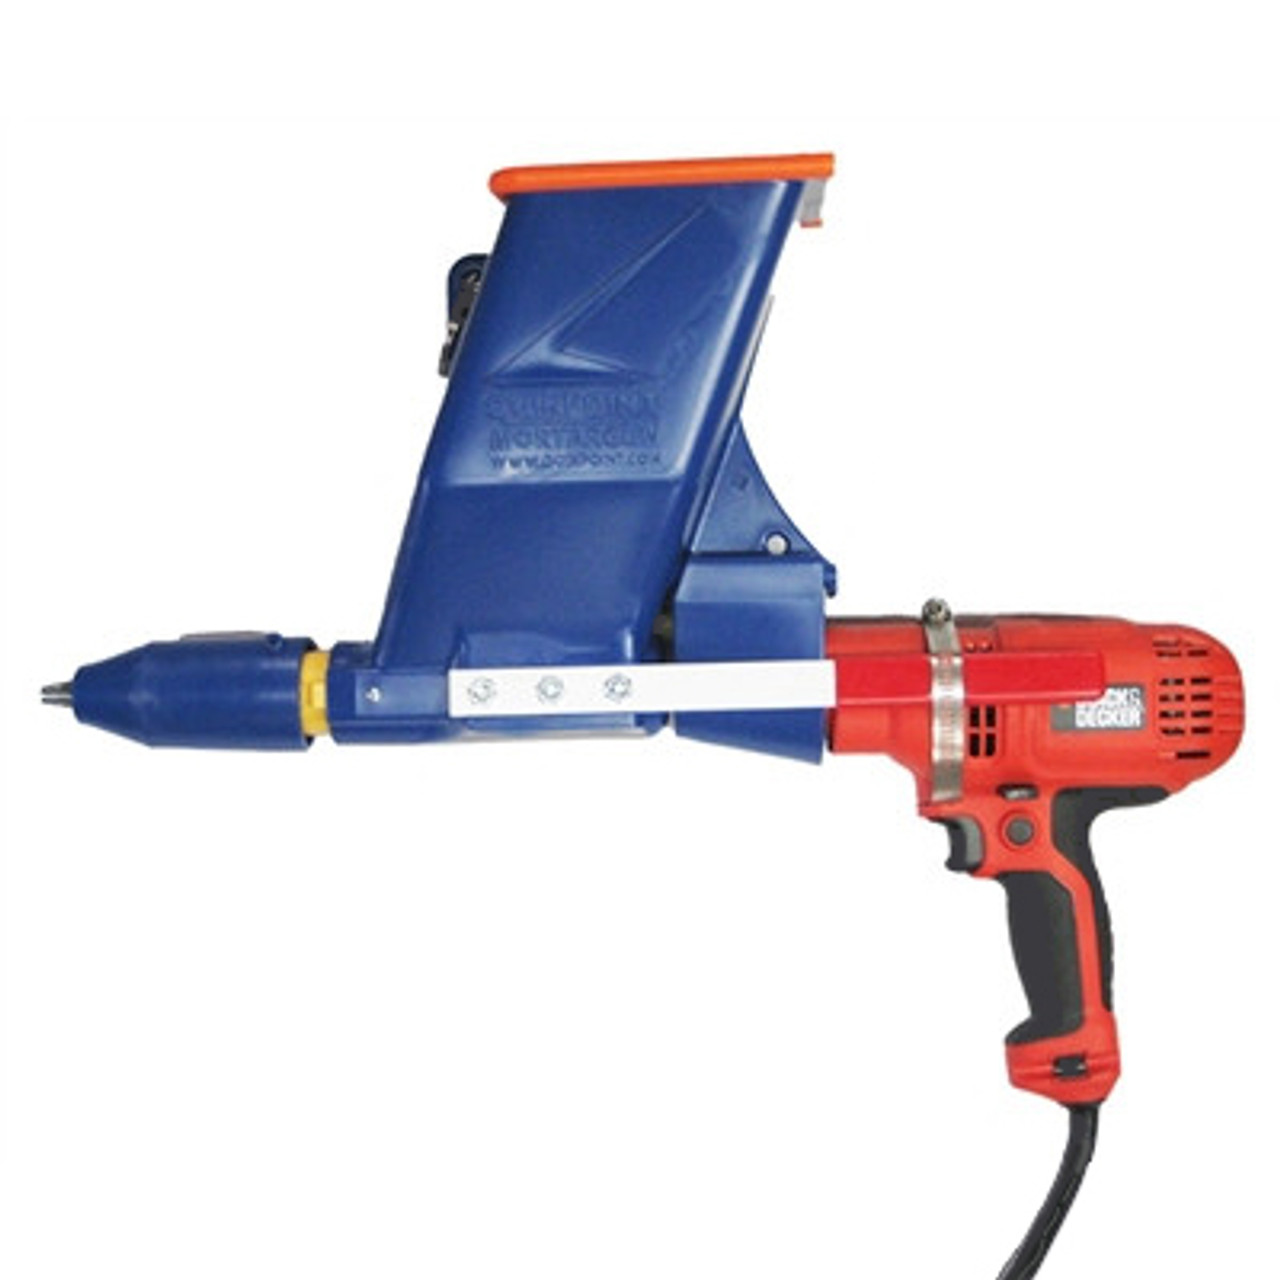
This Quikpoint mortar gun streamlines the repointing process by delivering mortar directly and accurately into the joints, reducing waste and increasing speed.
2. Hammer and Chisel

Helpful for removing old mortar without damaging the bricks.
3. Pointing Trowel
Ideal for applying and smoothing new mortar in hard-to-reach places.
4. Wire Brush
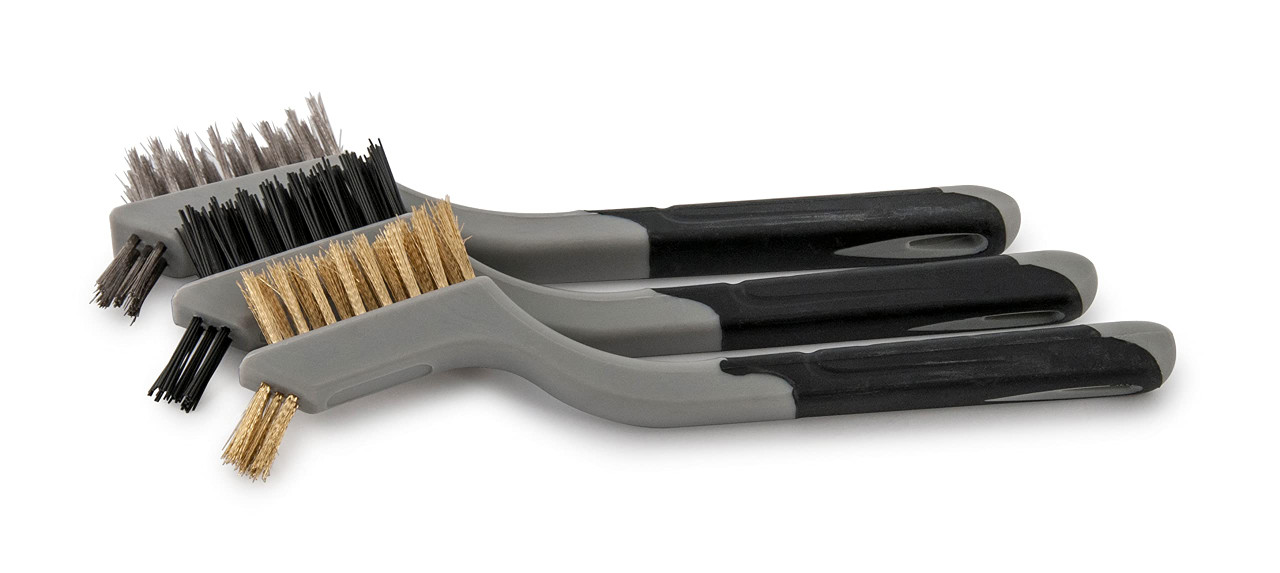
Used for cleaning out debris from the joints to ensure a clean surface for new mortar to adhere to.
5. Safety Gear

Protective safety glasses and durable gloves are crucial to safeguard against debris and the caustic nature of mortar.
How To Repoint Brickwork? Step-by-Step DIY Guide
Brick repointing is crucial for preserving both the aesthetic appeal and structural integrity of brick buildings. It can prevent water ingress and protect against weathering and erosion.
Below is a guide that offers a detailed approach to brick repointing, ensuring thorough coverage and effective results.
Step 1: Remove Old Mortar
Using a raking bar or a hammer and chisel, carefully remove the old mortar from the joints to a depth of at least ½ inch, or 2-2.5 times the joint's width. This ensures the new mortar has adequate depth to bond. Avoid damaging the bricks during this process.
Raking out old mortar is one of the most crucial steps in the brick repointing process, as the quality of the new application heavily depends on removing enough old mortar to allow a good bond with the new.
Step 2: Deep Clean Joints
After removing the old mortar, use a wire brush to scrub the joints thoroughly. This removes any residual mortar and debris, preparing a clean, solid base for new mortar. For deeper cleaning, use compressed air to blow out fine particles, ensuring no loose material remains.
Thorough cleaning ensures longevity of the brick repointing job, as it ensures that the new mortar will adhere properly to the brickwork, without any interference from residual particles.
Step 3: Dampen The Joints
Before applying new mortar, slightly dampen the joints to prevent the bricks from absorbing moisture too quickly from the fresh mortar. Use a spray bottle or damp brush to lightly moisten the brickwork.
The dampening process helps control the curing rate of the mortar, which is important for achieving a strong and durable bond between the old brick and the new mortar.
Step 4: Prepare Mortar Mix
Prepare a new mortar mix that matches the existing mortar in color, texture, and strength. Ensure the mix is consistent and appropriate for the brickwork. Follow manufacturer guidelines to achieve the correct consistency for ease of application and optimal bonding.
Having the right mortar mix is not only critical for bonding but also for the aesthetic integration of the brick repointing work with the existing masonry, maintaining the visual integrity of the brick structure.
Step 5: Apply Mortar
Fill the clean and dampened joints using a repointing mortar gun for thorough and compact filling of the joints. This method improves the uniformity of the application and speeds up the process.
Use of a repointing mortar gun increases the efficiency of the mortar application and ensures a more consistent fill across all joints, which is crucial for the structural stability and uniform appearance of the repointing project.
Step 6: Shape The Joints
Once the mortar reaches a thumbprint-hard consistency, use a jointing tool to smooth and shape it to match the existing mortar joints’ profile. This improves the visual finish and enhances the waterproofing by effectively sealing the joints.
Proper shaping of the joints is as vital as the filling process because it determines the final visual outcome of the repointing work and ensures the joint profiles are uniform throughout, enhancing both the appearance and the protective qualities of the mortar.
Step 7: Clean Excess Mortar
Regularly brush off any excess mortar from the face of the bricks to prevent it from hardening on the surface, which can be difficult to clean later. This step is crucial for maintaining the clean appearance of the bricks and preventing staining.
Immediate removal of excess mortar not only keeps the work area clean but also prevents the mortar from staining the face of the bricks, which could detract from the overall look of the repointed wall.
Step 8: Cure Mortar
Allow the mortar to cure slowly, misting it occasionally if the weather is dry and hot, to ensure it doesn’t dry too quickly. This gradual curing process helps prevent cracking and promotes the strength of the mortar.
Controlled curing is crucial, as rapid drying can lead to shrinkage and cracking, thereby weakening the mortar's bond with the brick and reducing the effectiveness of the repointing work.
Cost of Repointing Brick
The cost of brick repointing can vary widely depending on whether you opt for a DIY approach or hire a professional. For DIY enthusiasts, expenses are typically limited to materials, costing approximately $0.50 to $3.00 per square foot, depending on the quality of mortar and tools purchased.
Professional repointing services, however, can range from $5 to $25 per square foot, influenced by factors such as the size of the area, the condition of the existing mortar, and the property's location.
FAQs
1. What is the difference between tuckpointing and repointing?
Tuckpointing involves using two colors of mortar to fill joints, creating a visual contrast, while repointing is the process of replacing deteriorated mortar to ensure structural stability. Tuckpointing enhances aesthetics and repointing focuses on maintaining structural integrity and weather resistance.
2. Can repointing be done in the rain?
Repointing should not be done in the rain, as wet conditions can hinder the mortar's ability to set and bond properly. Excess moisture can dilute the mortar, weakening the structure. It’s best performed in dry weather for optimal results and durability.
3. Can you repoint brick yourself?
Yes, you can repoint brick yourself with the right tools and basic masonry skills. It involves removing old mortar, correctly mixing and applying new mortar, and precise tooling. For extensive or historic structures, consider hiring a professional to ensure integrity and aesthetics.